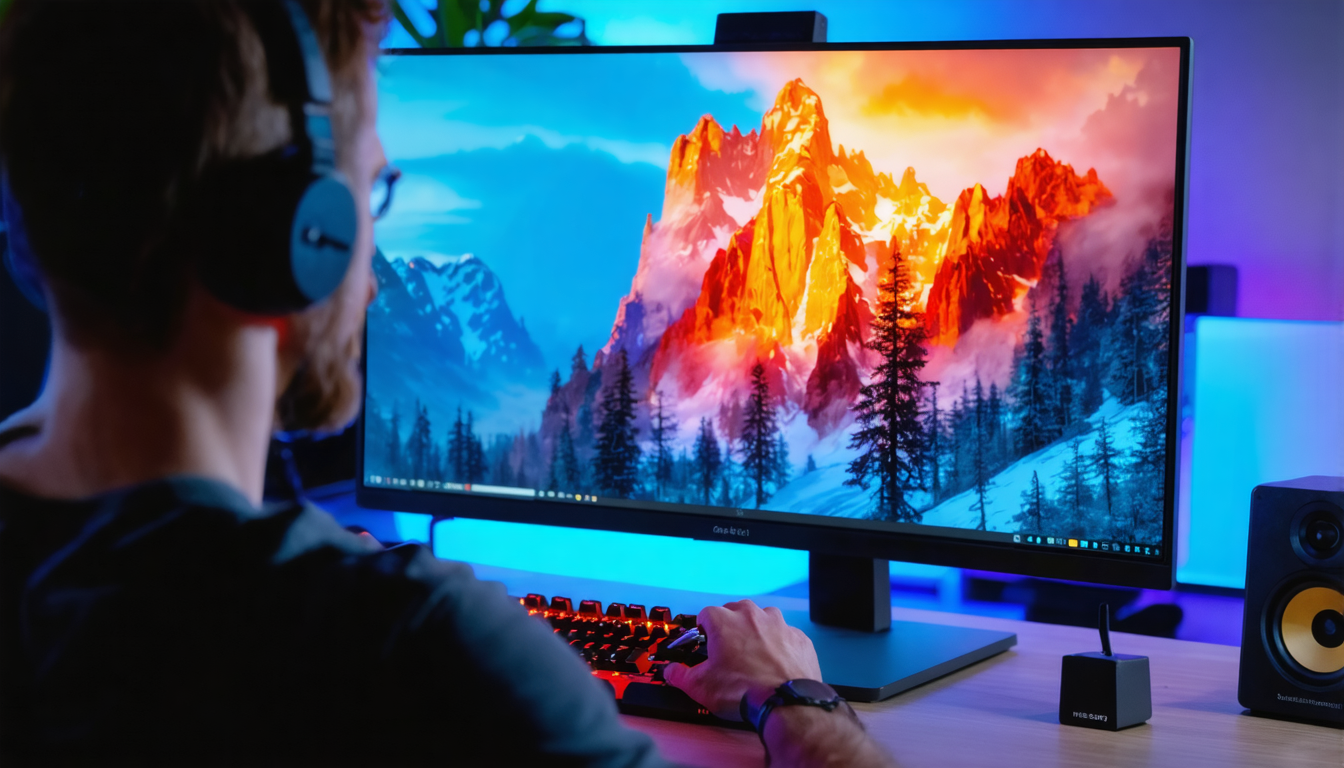
In a world where digital images dominate our daily lives, color accuracy has become a major issue, whether for imaging professionals or multimedia enthusiasts. Every image, every video, or every video game deserves to be displayed with the greatest possible precision. That’s where the calibration probe comes in, this technical yet accessible tool that is revolutionizing screen calibration. In 2026, with the rise of high-definition and HDR screens, mastering the right color profile is essential to ensure faithful and consistent rendering. Whether you are a photographer, videographer, gamer, or simply a user concerned about visual quality, this comprehensive guide reveals the secrets and calibration tips for a professional result.
Let’s discover together why screen calibration is crucial, how to choose and use a calibration probe, and which settings to prioritize according to your needs. We will also cover common mistakes to avoid, recommendations from colorimetry experts, and essential tools to achieve a perfect screen grading. Practically, you will learn how to improve color accuracy and optimize your calibration tools for optimal visual comfort, all while respecting the current 2026 standards.
- 1 Why the calibration probe is indispensable for faithful display in 2026
- 2 Essential steps of screen calibration for a professional result
- 3 Reference values for successful screen calibration in 2026
- 4 The different calibration probes on the market in 2026: how to choose according to your needs?
- 5 Adapting screen calibration according to usage: photo, video, or gaming
- 6 How often should screen grading be done to maintain optimal accuracy?
- 7 Optimizing your color workflow for faithful image printing
- 8 Expert advice and practical tips for impeccable screen calibration
Why the calibration probe is indispensable for faithful display in 2026
The role of a calibration probe is not limited to a technological gadget. It is a true partner to ensure that the colors and brightness displayed on your screen conform to reality or required standards. Today, more and more professionals and informed users realize that without regular calibration, the screen acts like a “detuned musician.” For example, an amateur photographer who admires their shots on an uncalibrated screen will often be disappointed when printing, noticing obvious differences in tones, contrast, and saturation.
It is essential to understand that screens, even the newest ones, tend to drift over time. The tint may become more yellowish, brightness may decrease, and some nuances get lost. In 2026, with the emergence of AMOLED, mini-LED, and even more efficient OLED panels, the need for precise screen grading is more pressing than ever. A professional calibration probe will help you maintain consistent color settings for your content, whether it’s a cinema projection, a hyperrealistic video game, or a handcrafted photo print.
It is also important to note that calibration not only improves color accuracy but also protects your eyes by adjusting the screen’s brightness to optimal comfort, especially in a world where we spend many hours in front of screens. For example, aiming for a brightness around 120 cd/m² and a color temperature of 6500K gives a natural display without excessive fatigue. These are the target values recommended by the majority of imaging experts for versatile and sustainable use.
To illustrate this impact, imagine a videographer who must deliver an edit with colors faithful to reality. Without proper calibration, color variations risk being disturbed, leading to additional corrections and delays in their production chain. However, with a calibration probe, they can ensure that their screen reproduces exactly what the video should show, thus improving their workflow and the final quality of the work.
Essential steps of screen calibration for a professional result
The calibration process, although simple in appearance, requires strict adherence to steps to ensure a reliable result. For imaging professionals, calibration is not limited to plugging in the probe and launching a software. It is also necessary to consider the environment and technical constraints. Here is a clear and effective workflow to successfully calibrate your screen.
1. Choosing and installing the calibration probe
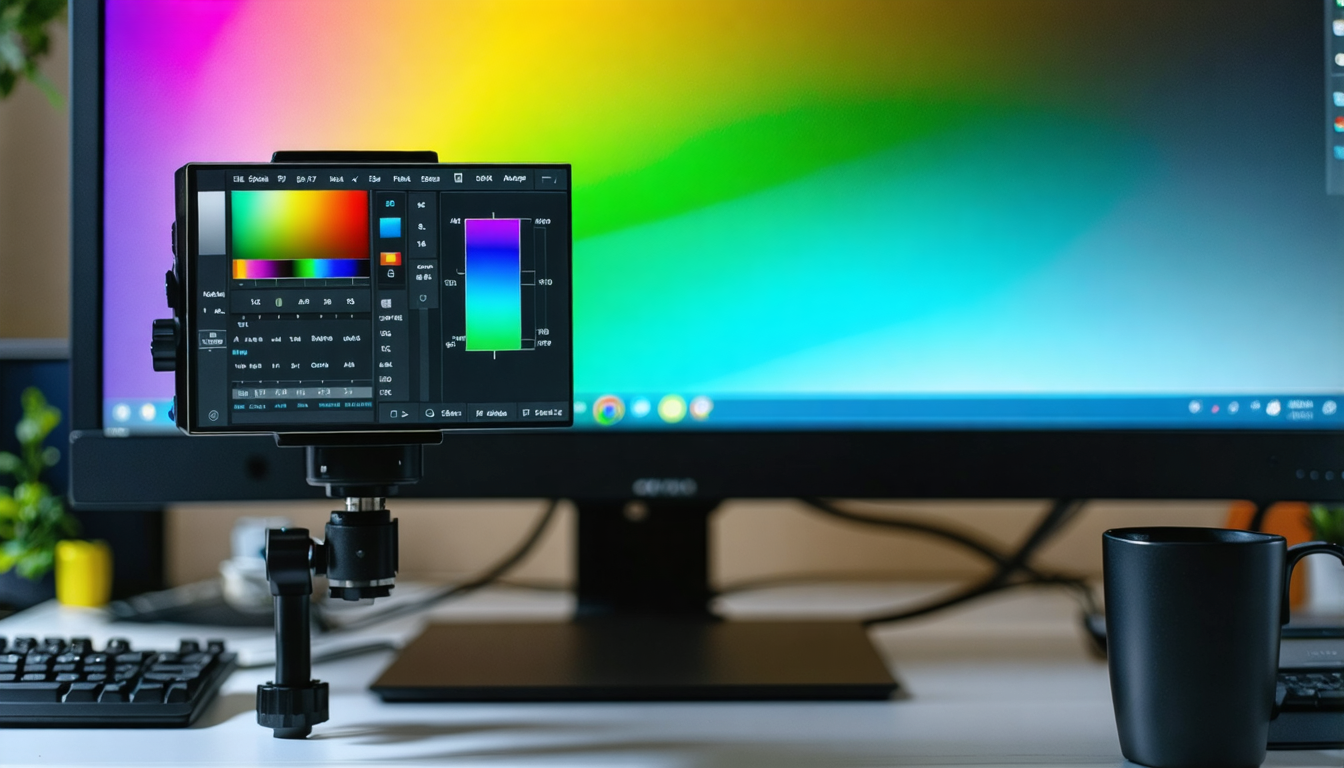
First of all, choose a probe adapted to your use, whether it is an entry-level model for occasional use or a professional model for demanding work. Then install the software provided with the probe or a trusted third-party tool known for its reliability and flexibility. This software is the interface that will manage the entire measurement and correction process.
2. Preparing the screen and environment
Calibration must take place under the usual conditions of use. This means that if your workspace is lit by particular ambient light, make sure it is stable. Avoid reflections on the screen. Set your screen to its native resolution and leave it turned on for at least 30 minutes before calibration so the brightness is stable.
3. Positioning the probe and starting measurements
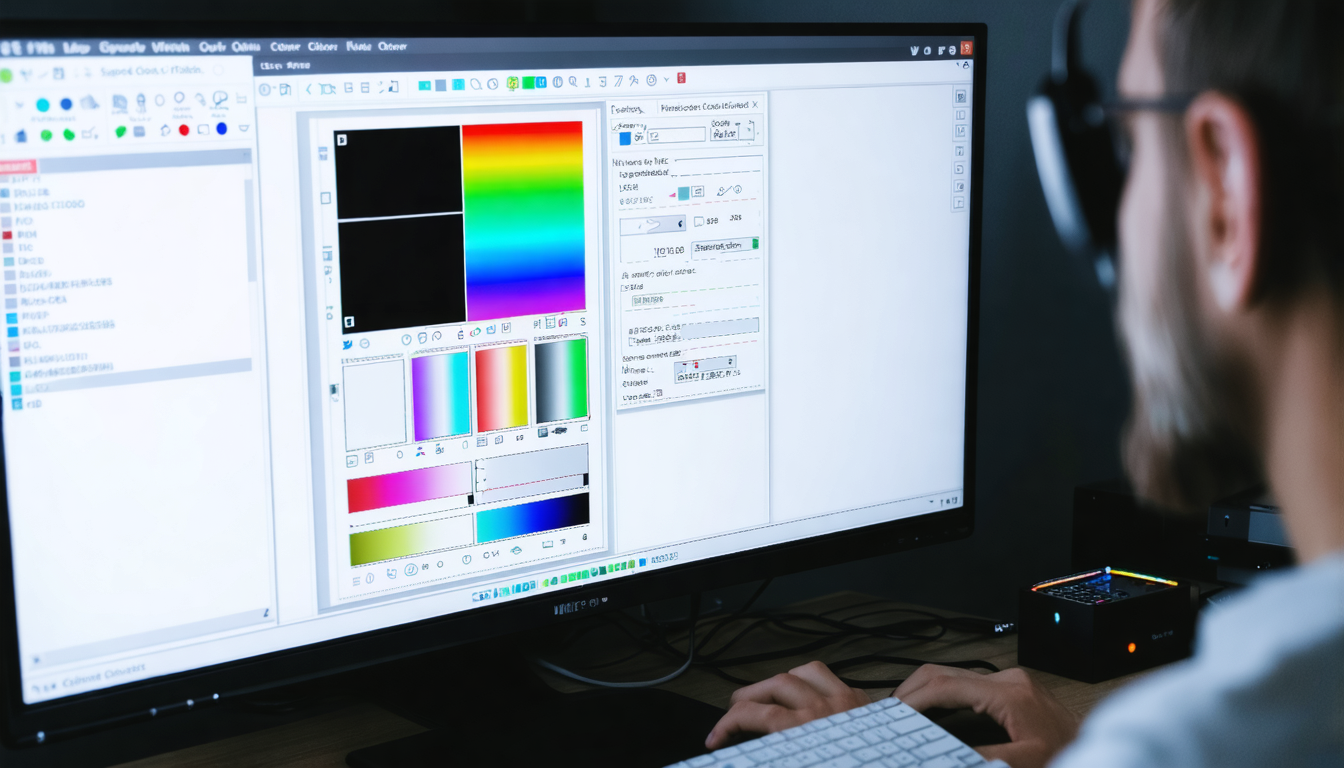
Gently place the probe against the screen. The calibration software will then launch a series of measurements, projecting different colors, grayscale levels, and brightness on the panel. This usually lasts 5 to 10 minutes. It’s the perfect moment to take a break – maybe enjoy a coffee!
4. Applying profiles and automatic settings
Once the measurements are confirmed, the software will create a personalized color profile. This will be automatically applied to your operating system, ensuring the displayed colors now respect reference values such as a 6500K temperature and a 2.2 gamma. You will immediately notice a significant difference in hues, brightness, and contrast.
5. Verification and saving the profile
Don’t hesitate to perform visual tests after calibration to validate quality. Some software provides integrated tools to check grayscale gradients, saturation, and color fidelity. Save your profile and consider recalibrating your screen at least once a month to maintain constant accuracy.
Although fairly simple, these steps are the key to faithful and high-performance display. The quality of your images, videos, or games will only improve, and your visual comfort will be protected long-term.
Reference values for successful screen calibration in 2026
Imaging professionals agree on some fundamental target values to guarantee faithful color reproduction and optimal visual comfort. These parameters, adjusted through calibration, allow you to harmonize your screen with international standards, notably in photography, video, and multimedia in general.
Ideal brightness: 120 cd/m²
This value is a compromise between clear visibility and eye comfort. Too high brightness can quickly cause fatigue, while too low brightness can make the screen dull and less legible. For example, in a standard office environment with moderate ambient light, 120 cd/m² is the ideal target. For a dark environment, you might reduce this value slightly but always without going too low to avoid losing display quality.
Color temperature: 6500 Kelvin
6500K corresponds to average daylight. It is the standard used on most professional monitors and for photo prints. It ensures that the white tint displayed has no color cast, neither too warm (orange/yellow) nor too cool (blue). For example, a professional printer systematically requires calibration with this temperature to avoid unpleasant surprises during printing.
Gamma: standard 2.2
Gamma measures the luminance of midtones. A gamma setting of 2.2 ensures a good transition in gradients from black to white. This parameter is crucial for managing shadows in images and videos. Incorrectly set gamma can make dark details invisible or exaggerate bright areas.
A summary table of key calibration values
| Parameter | Recommended value | Role in calibration |
|---|---|---|
| Brightness | 120 cd/m² | Optimal visual comfort and readability |
| Color temperature | 6500K | Faithful reproduction of whites |
| Gamma | 2.2 | Management of grayscale levels and shadows |
These parameters serve as the basis for all ICC profiles created for your screen. They guarantee uniformity in color accuracy and provide a solid foundation that can then be refined according to each user’s specific needs.
The different calibration probes on the market in 2026: how to choose according to your needs?
The choice of a calibration probe depends directly on your requirements and budget. In 2026, the market has adapted to diverse user profiles, ranging from simple individuals to studio professionals. Here are the main categories of probes and their characteristics:
| Range | Average price | Characteristics | Recommended use |
|---|---|---|---|
| Entry-level | ~100€ | Correct accuracy, basic functions | Home use, occasional calibration |
| Mid-range | ~200€ | Better accuracy, advanced adjustment options | Amateur photographers, semi-professional videographers |
| High-end | ~300€ | Professional accuracy, complex color profiles | Studios, demanding imaging professionals |
High-end models often translate to better measurement fidelity, the ability to calibrate several types of screens (LCD, OLED, miniLED), and finer tracking of ICC profiles. They are particularly favored by graphic design and photo retouching professionals who require absolute control.
Conversely, an entry-level probe, often sufficient for occasional users or those using a laptop, offers excellent value for money. It already allows effective color settings and brings a visible improvement in image rendering.
Here are some popular models acclaimed in 2026:
- Spyder X Pro and Spyder X Elite (Datacolor): highly appreciated for their intuitive interface and reliability, ideal for photographers and videographers.
- Calibrite ColorChecker Display: offers solid performance and good multi-screen compatibility.
- X-Rite i1 Display Pro: the preferred choice of professional studios for optimal accuracy.
The choice of a probe must also consider the ease of use of its associated software, the recommended calibration frequency, and the ability to export or save multiple color profiles according to specific usage needs.
Adapting screen calibration according to usage: photo, video, or gaming
Successful calibration is not limited to a single universal configuration. A photographer’s needs are different from those of a gamer or video editor, and settings adapt accordingly.
Photography and image retouching
For photographers, color fidelity is an absolute priority. A screen calibrated in sRGB or AdobeRGB with a gamma of 2.2 and a color temperature at 6500K ensures that the displayed colors will be close to what editing software and prints will yield. This avoids unpleasant surprises during printing or photo sharing. Photographers also often choose ICC profiles adapted to the specific ambient lighting of their studio.
Video editing and color grading
Videographers have specific expectations, notably regarding Rec.709 or DCI-P3 profiles, widely used in cinema and television. Proper calibration will ensure blacks are not crushed and whites are not blown out while maintaining correct contrast. Also, HDR screens require additional calibration to manage brightness range, a need that has become increasingly important in 2026 with the democratization of HDR content.
Gaming and multimedia use
Calibration for gaming is slightly different. While color accuracy is still desirable, visual comfort and visibility of details in dark areas take precedence. Thus, a slightly higher gamma can improve shadow perception, helping to spot enemies hidden in darkness. Additionally, refresh rate and screen response speed are critical. Calibration for gamers therefore favors a balance between performance and fidelity.
One tip for versatile users: create multiple ICC profiles to switch quickly according to usage, allowing you to enjoy optimized display in all circumstances.
How often should screen grading be done to maintain optimal accuracy?
Calibration is not a one-time operation. The wear of screen components, temperature fluctuations, and ambient light can cause display quality to drift over time. That’s why professionals and colorimetry experts recommend calibrating approximately every 30 days.
Monthly calibration helps maintain color accuracy and consistency of color profiles. For example, a graphic designer engaged in color-sensitive projects often notices that without regular calibration, their production chain suffers visual shifts that cost time and money.
If your use is very intensive or if you work in an environment with frequent light variations, consider more frequent calibration, every two weeks for example. Conversely, for occasional use, calibration every two months may suffice.
It is also important to perform calibration under the usual lighting conditions of your workstation. Calibration done in a dark room will not be suitable for use in bright daylight. Always get used to adjusting the lighting around your workspace to minimize eye strain and optimize color perception.
Optimizing your color workflow for faithful image printing
Having a well-calibrated screen is not enough by itself to guarantee that color rendering in print will be identical to that displayed. Mastered management of ICC profiles throughout the workflow is necessary. This includes the color mode of your image, printing profiles, and the paper used.
For example, most printers require your files to be in AdobeRGB or CMYK for some professional prints. It is advisable to import ICC profiles provided by the paper or printer manufacturer into your image editing software. These profiles guarantee that colors and contrasts match perfectly what your printer can produce, thus avoiding disappointments linked to too dark or desaturated rendering.
Before launching a large print run, always perform a test on a small sample of identical paper. This validation step will allow you to confirm that your calibration and color adjustment were correctly done from start to finish.
Adopting this type of meticulous workflow is now the recommended norm by imaging professionals. Without this, discrepancies between screen and paper risk increasing, regardless of the quality of your screen or calibration probe.
Expert advice and practical tips for impeccable screen calibration
Here are some recommendations based on feedback from enthusiasts and professionals to get the most out of your calibration probe:
- Always calibrate in your usual conditions: whether it’s brightness, room temperature, or even your position in front of the screen. Calibration should reflect your real environment.
- Don’t skimp on regular calibrations: monthly calibration helps maintain optimal performance.
- Test your calibration after each procedure with reference images, grayscale gradients, or ICC profiles in software like Photoshop.
- Experiment with third-party software, notably dispcalGUI, which offers finer control of advanced parameters, for users who like to fine-tune.
- Save multiple ICC profiles for different uses: photo, video, gaming. This will prevent you from constantly recalibrating.
- Think about maintenance: clean your screen and probe regularly to avoid measurement errors caused by dust.
- Don’t neglect hardware: investing in a good probe is worthwhile, as it improves visual quality and limits eye strain.
These tips will help you optimize your experience, whether for demanding professional use or pure visual pleasure. Well-done calibration is the guarantee of lasting colorimetric fidelity and uncompromising visual comfort.