The Nintendo Switch has become a staple of modern game consoles, offering remarkable flexibility between handheld and docked modes. For many, the real fun begins when you can project your favorite games onto a large television screen. That said, connecting your Nintendo Switch to a TV can seem intimidating at first, especially without the right guidance. Whether it’s a first-time setup or a change of installation after moving, this comprehensive guide supports you in successfully configuring your setup with ease. You will discover the different methods, essential equipment, as well as tips to optimize your gaming experience on the big screen.
In this 2026 context, where accessories and solutions around the Switch have evolved greatly, it is crucial to be well aware of the current methods to connect your console without taking unnecessary risks. With our detailed guide, no more fumbling, display problems, or worries related to uncertified adapters. You will learn in particular how to choose the appropriate equipment to connect your Nintendo Switch to the TV thanks to official options or reliable alternatives, how to proceed step by step, and finally, how to make the most of this setup for full immersion.
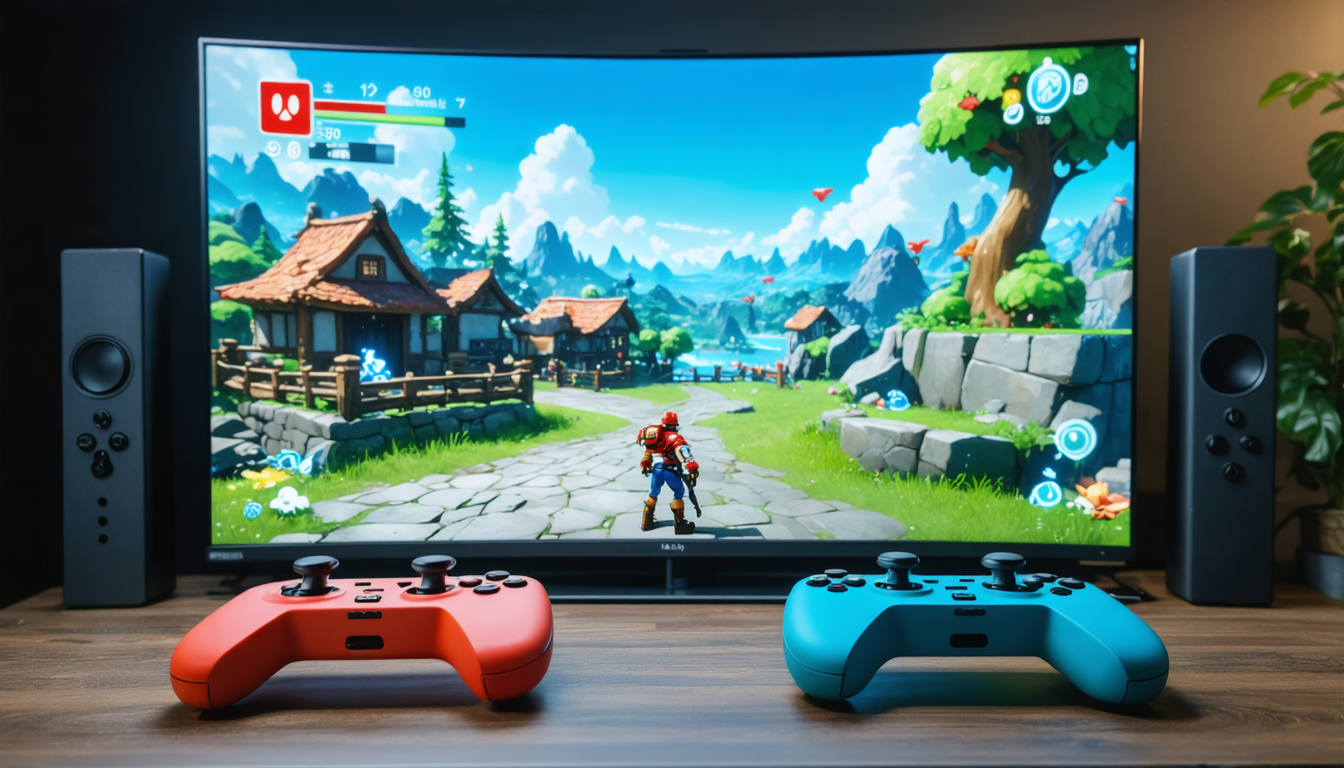
A key moment not to miss is the possibility of enjoying docked mode to boost graphical performance and benefit from smooth and immersive gameplay. Whether you are a casual player or a true enthusiast, this configuration remains the foundation for your multiplayer sessions on the big screen, your livestreams, or simply to rediscover your favorite titles in a new light. Follow us in this complete tutorial to transform your Nintendo Switch into a true home console, quickly and safely.
- 1 Essential equipment to connect your Nintendo Switch to a TV
- 2 Detailed steps to connect your Nintendo Switch to the TV using the official dock
- 3 Alternative connections: how to connect your Nintendo Switch without the official dock
- 4 Tips to optimize image quality and performance when connecting the Switch
- 5 The benefits of docked mode for an enriched gaming experience on television
- 6 Tips for properly maintaining your Nintendo Switch connection equipment
- 7 Expansion and accessorizing: enhancing your Nintendo Switch setup connected to television
Essential equipment to connect your Nintendo Switch to a TV
Before beginning the connection between your Nintendo Switch and your television, it is essential to gather all the necessary equipment. This step not only guarantees a smooth installation but also the safety of your console and your screen. Above all, it prevents you from facing an avoidable technical problem.
The standard kit for a classic setup with the official dock includes:
- The Nintendo Switch console itself, whether it’s the standard model allowing TV connection or the Nintendo Switch OLED.
- The official dock, often nicknamed “dock”, supplied in the original package. It serves as a bridge between the console and the television.
- The HDMI cable, indispensable for transmitting the image and sound from the console to the television.
- The USB-C power adapter
- A TV equipped with at least one HDMI port. This connection is generally standard on most recent models, but it is better to check, especially on older TVs or computer monitors.
Note that starting from 2026, official docks continue to guarantee the best stability and performance, but alternatives have emerged. If you are a nomadic player, you might opt for a certified portable dock that combines portability and features, a compromise that is becoming more common.
For those seeking an even more compact option, for example when traveling, a USB-C to HDMI adapter can do the job. However, be careful to choose a Nintendo-certified model! Low-cost adapters, non-compliant with Switch standards, can cause overheating, damage the console, or simply not work at all. This is a common mistake many regret.
Finally, the Nintendo Switch Lite is not among the consoles compatible with a TV connection. Designed for handheld mode only, it does not have the USB-C port capable of managing video output. As a reminder, it is therefore useless to look for a way to connect this version to your TV, regardless of the method.
In summary, your basic equipment list to connect the console to the television is as follows:
- Nintendo Switch console (standard or OLED model)
- Official dock or a certified compatible third-party dock
- High-definition compatible HDMI cable
- Nintendo Switch USB-C power adapter
- HDMI television
- Optionally a quality certified USB-C HDMI adapter (for mobile solutions)
Detailed steps to connect your Nintendo Switch to the TV using the official dock
The most widespread and recommended way to connect the Nintendo Switch to a television remains the method using the official dock. It ensures optimal compatibility and safety of your equipment, while also charging your console. Here is how to proceed, step by step, for a successful setup without complications.
Preparation of equipment and initial connections
First, start by opening the rear panel of your official dock. You will find three distinct ports: a power port labeled “AC ADAPTER,” an HDMI OUT port for the cable to your TV, and a USB port mainly used for accessory connectivity.
Begin by connecting the HDMI cable to the HDMI OUT port on the dock. Then connect the other end of the HDMI cable to a free HDMI port on your television. This step is crucial as it will transmit the image and sound directly from your console.
Next, connect the official power adapter to the dock’s power port, then plug it into a stable electrical outlet. Thus, the dock will be powered and can both charge your console and transmit the video/audio signal.
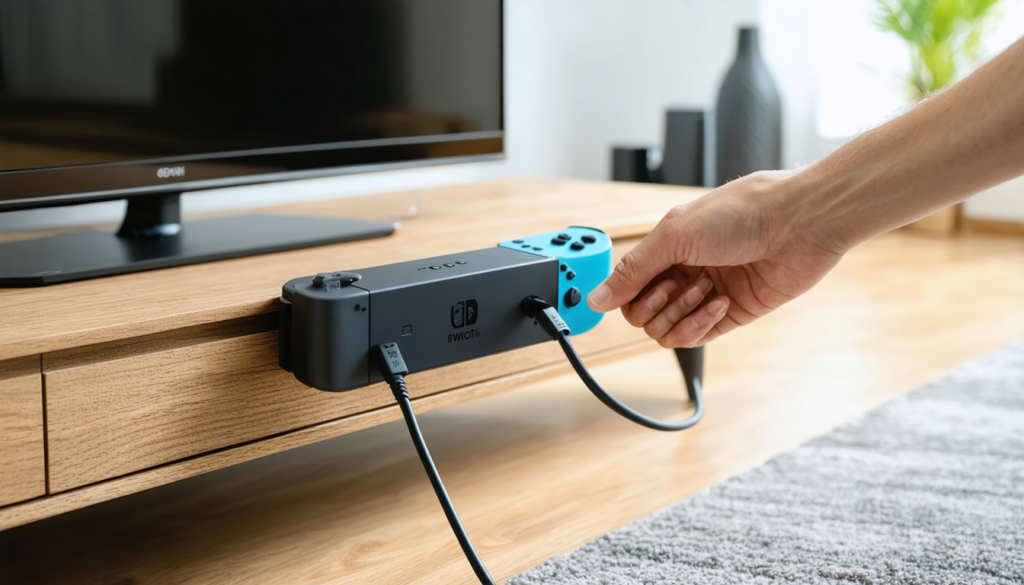
Insertion and synchronization of the console
Once the connections are made, it’s time to place the console in the dock. Carefully remove the Joy-Con controllers if you prefer easier handling of the Switch, although this is not mandatory. Then align the USB-C port located at the bottom of the Switch with the dock’s connector. Gently insert the console into the dock, front facing towards the Nintendo logo visible on the dock.
If the connection is good, a small green light on the dock will light up, indicating that the console is detected and connected to the television. Finally, turn on your TV and select the HDMI source being used (e.g., HDMI 1, HDMI 2, etc.) via the remote control. The Switch screen should automatically display in large format on your television.
Common problems and solutions
In some cases, it is possible not to see any image or not have sound on the first attempt. Here are some tips for resolving these common issues:
- Check that the console is properly powered on and not in deep sleep mode.
- Unplug then replug the console in the dock to ensure good USB-C port contact.
- Make sure you have selected the correct HDMI source on your TV, often accessible via a “Source” or “Input” button.
- Try another HDMI cable or another HDMI port on your TV to rule out a hardware issue.
- Restart both the console and the TV to reset the connections.
These simple checks usually solve the vast majority of connection problems without requiring complex technical interventions.
Alternative connections: how to connect your Nintendo Switch without the official dock
If the official dock seems too bulky or if you simply want to enjoy a more mobile setup, know that solutions exist to connect your Nintendo Switch to a TV without using Nintendo’s dock. However, caution is required to avoid damaging your console and to guarantee the quality of your image.
Using a certified USB-C to HDMI adapter
One of the simplest methods remains adopting a USB-C to HDMI adapter. This small device plugs directly into your Nintendo Switch’s USB-C port and allows transmitting the image and sound to a TV via a classic HDMI cable.
Important: choose a recognized brand and a Nintendo Switch certified adapter. In 2026, some third-party manufacturers offer validated models that ensure risk-free operation. This method is particularly appreciated by frequently traveling players who want to connect their console at friends’ places or on vacation while avoiding the bulk of the official dock.
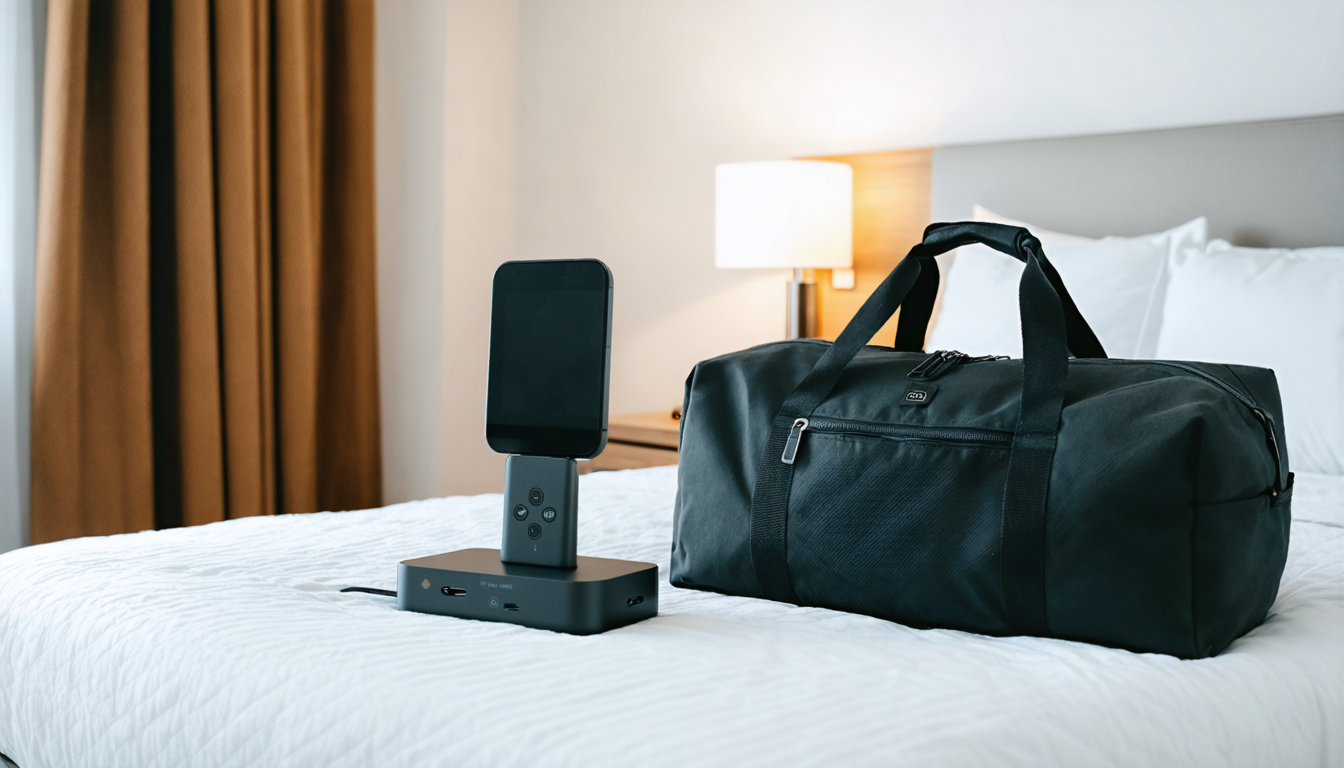
Portable third-party docks, a practical compromise
For those who want an intermediate solution, portable third-party docks represent an interesting alternative. They include the essential ports (HDMI, USB, power) in a smaller and sleeker format for transport.
These docks are compatible with the Nintendo Switch and allow not only to connect the console to your TV but also to charge the Switch and connect other USB accessories. Their quality obviously varies depending on brands, but the 2026 trend shows increasingly reliable and affordable options.
Comparative list of solutions without the official dock
| Method | Advantages | Disadvantages | Recommended for |
|---|---|---|---|
| Certified USB-C to HDMI adapter | Compact, easy to carry, simple to use | No built-in charging, sometimes unstable if low-end equipment | Nomadic players, travel |
| Portable third-party dock | Charges the console, full connectivity, portable | Quality varies by manufacturer, more expensive than simple adapter | Frequent users outside home, competitions, friends |
Tips to optimize image quality and performance when connecting the Switch
Connecting your Nintendo Switch to a TV is not just about displaying images on a bigger screen. Several settings allow you to noticeably improve display quality and gameplay responsiveness for an optimal experience.
First, in the console’s system settings, you can adjust the displayed resolution. In docked mode, the Switch supports up to Full HD 1080p, while the portable screen is limited to 720p or 720p+ depending on the model. Activating the most suitable resolution for your TV can visually transform your favorite games, making textures sharper and colors more vivid.
Next, consider enabling the game mode in your TV’s settings. This specific mode reduces display latency by disabling certain image processing that might slow down smoothness, ideal for real-time gaming.
Moreover, using good quality HDMI cables ensures a stable image without interruptions. Prefer certified cables to guarantee smooth and interference-free transmission.
In case of display issues at startup, a full restart of the console and the TV is often the most effective solution. It is also recommended to verify that the Joy-Cons are properly synchronized to fully enjoy the game, especially in multiplayer titles.
Finally, don’t hesitate to test different controller configurations to find the one that suits you best when playing in TV mode: separated Joy-Cons, the Pro controller, or even third-party compatible accessories.
These settings and precautions, when properly applied, can greatly influence your gaming comfort and immersion, thus enhancing the experience offered by the Nintendo Switch on the big screen.
The benefits of docked mode for an enriched gaming experience on television
The Nintendo Switch was designed from the outset to offer a smooth transition between handheld and big-screen gaming via the dock. Docked mode not only changes the screen size; it also impacts performance and visual quality.
When the Switch is inserted into the dock, it can display compatible games in high definition 1080p, a clear improvement over the built-in screen, which caps at around 720p depending on models. This allows not only better definition but also greater texture detail and more elaborate visual effects.
A standout example is Breath of the Wild, whose resolution increases from 720p on the portable console to 900p in TV mode, with a more stable and detailed rendering. Many other titles benefit from similar graphical enhancements, strengthening immersion.
Beyond resolution, docked mode also improves the experience thanks to simultaneous charging of the console, avoiding any game interruptions. The connectivity also allows easier use of external accessories, such as the Pro controller, HDMI audio headsets, or network adapters for online gaming.
Moreover, the HDMI-CEC option, present on many recent TVs, allows for automatic TV power-on and source switching to the Switch as soon as the console is activated. This device makes the setup even more intuitive and pleasant, especially during quick or spontaneous sessions.
Multiplayer enthusiasts will also benefit from the ease of connecting multiple compatible controllers, turning the living room into a true gaming arena. These benefits make docked mode the recommended setup for anyone valuing a complete and quality experience.
Tips for properly maintaining your Nintendo Switch connection equipment
To ensure maximum longevity for your console and connection equipment, some basic precautions are essential. The quality of the installation influences not only your comfort of use but also prevents accidents that could damage your Switch or your television.
First, always handle the dock with care. The USB-C and HDMI ports are delicate, and rough or repeated connections can damage them. When inserting the console into the dock, always check the correct alignment to avoid damaging the connectors.
For the HDMI cable, avoid excessive twisting or bending which could cause signal interruptions or gradual deterioration. Also, avoid pulling on the cable to unplug it, but rather pull on the plug itself.
If you use adapters or third-party docks, regularly check their condition, especially their power supply and connectors. Defective equipment can cause overheating or malfunctions.
Finally, clean the dock and console regularly with a soft, dry cloth, without abrasive products to avoid any surface or connector degradation. A clean and dust-free environment preserves a stable and durable connection.
These simple actions help maintain a healthy setup while ensuring the safety of your equipment in the long term.
Expansion and accessorizing: enhancing your Nintendo Switch setup connected to television
Beyond simple connection, it is possible to enhance your Nintendo Switch setup connected to the TV thanks to various accessories that improve comfort and versatility of your installation. Between gaming comfort and ergonomics, these options truly transform your living room into an entertainment-dedicated space.
One must-have is the Pro controller, which offers more comfortable handling for long sessions, with better button layout than the Joy-Cons. Competitive players or those who want to play docked with a traditional console experience find great advantage in it.
For multiplayer fans, additional controllers (Joy-Cons or compatible third-party controllers) allow gathering several players to fully enjoy cooperative or versus titles on the big screen.
Some accessories like Joy-Con charging stations simplify managing controllers by avoiding having to connect them to the console or a USB cable each time the battery runs low.
For those who want to go even further, audio kits can be connected via HDMI or Bluetooth for enhanced sound immersion. Surround sound can transform your experience, especially in games with varied atmospheres and 3D effects.
Finally, there are robust portable screen solutions on the market compatible with HDMI. These small transportable monitors increase mobility while offering superior image quality when a television is not available.
Using these accessories gives your Nintendo Switch an extra dimension, combining comfort, versatility, and quality for hours of increasingly enjoyable gaming.